Wondering how to connect to a Windows VPS or Linux VPS on your Windows 10 PC? Follow the simple guide below to get started.
How to Connect to a Windows VPS
Microsoft Remote Desktop Connection (RDC)
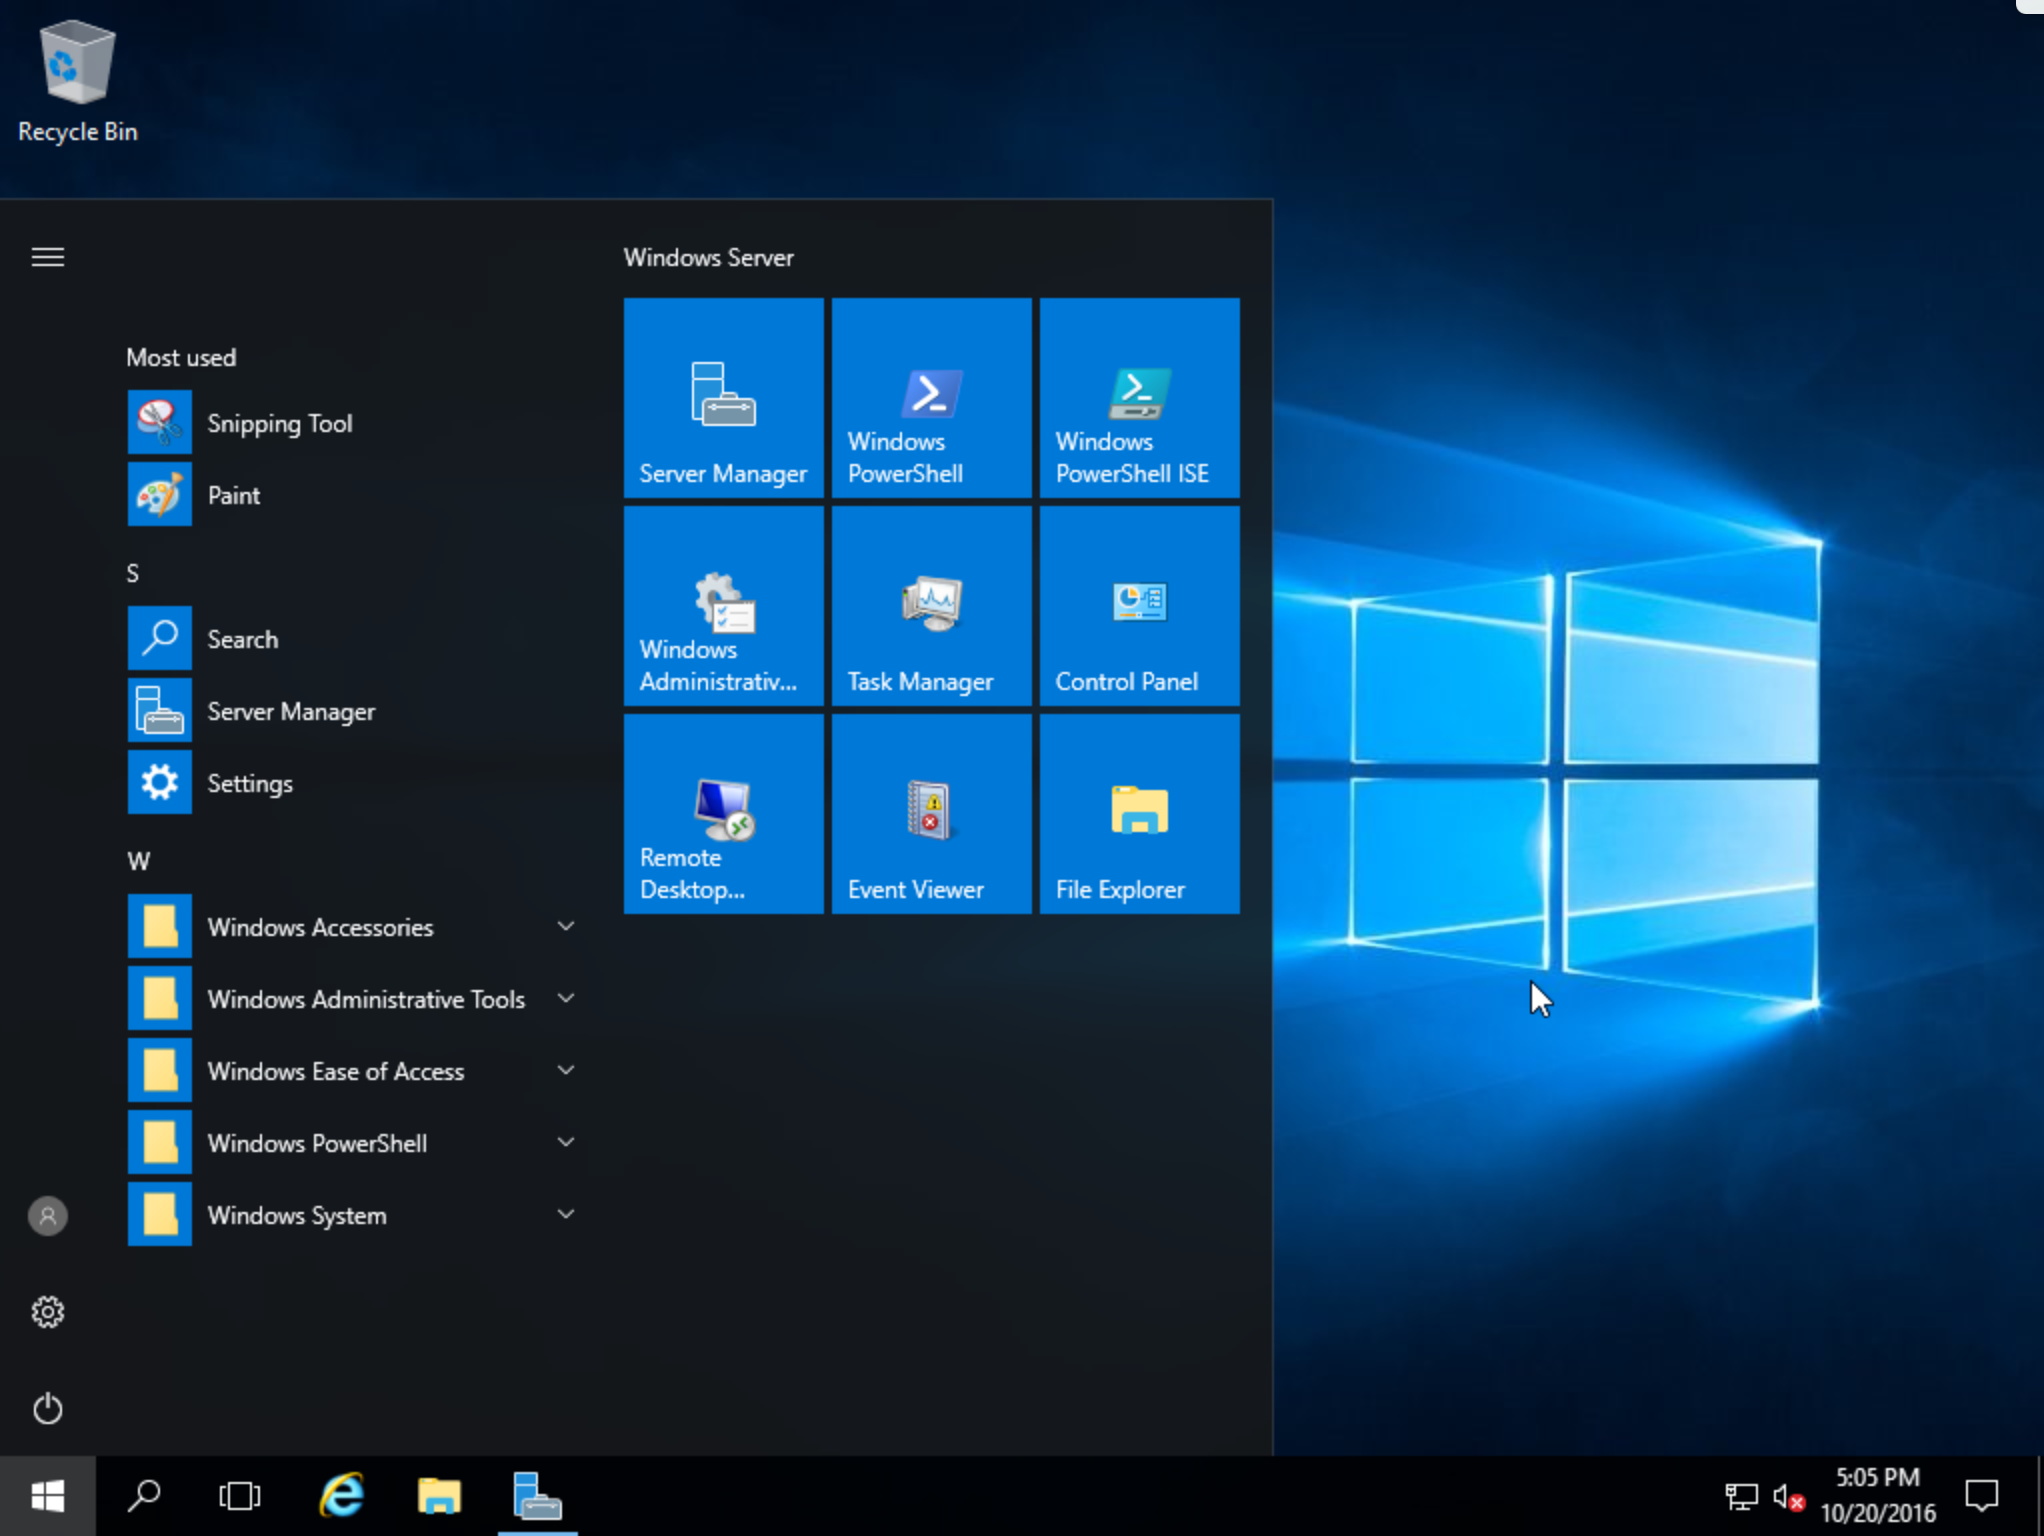
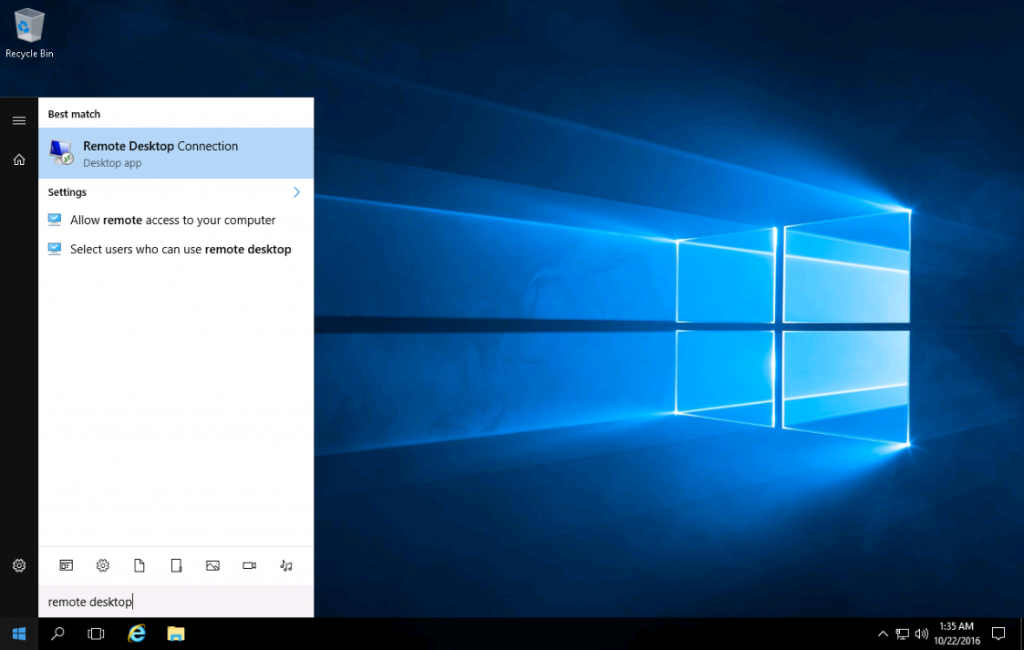
Navigate to the Start menu and search for “remote desktop.” You should find it on your PC.
Enter the IP address of your Windows server or Windows VPS. Where to get a Windows server with remote desktop? Be sure to check out our Windows VPS hosting service.
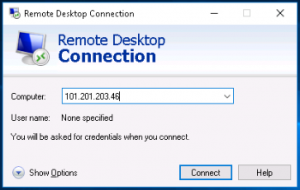
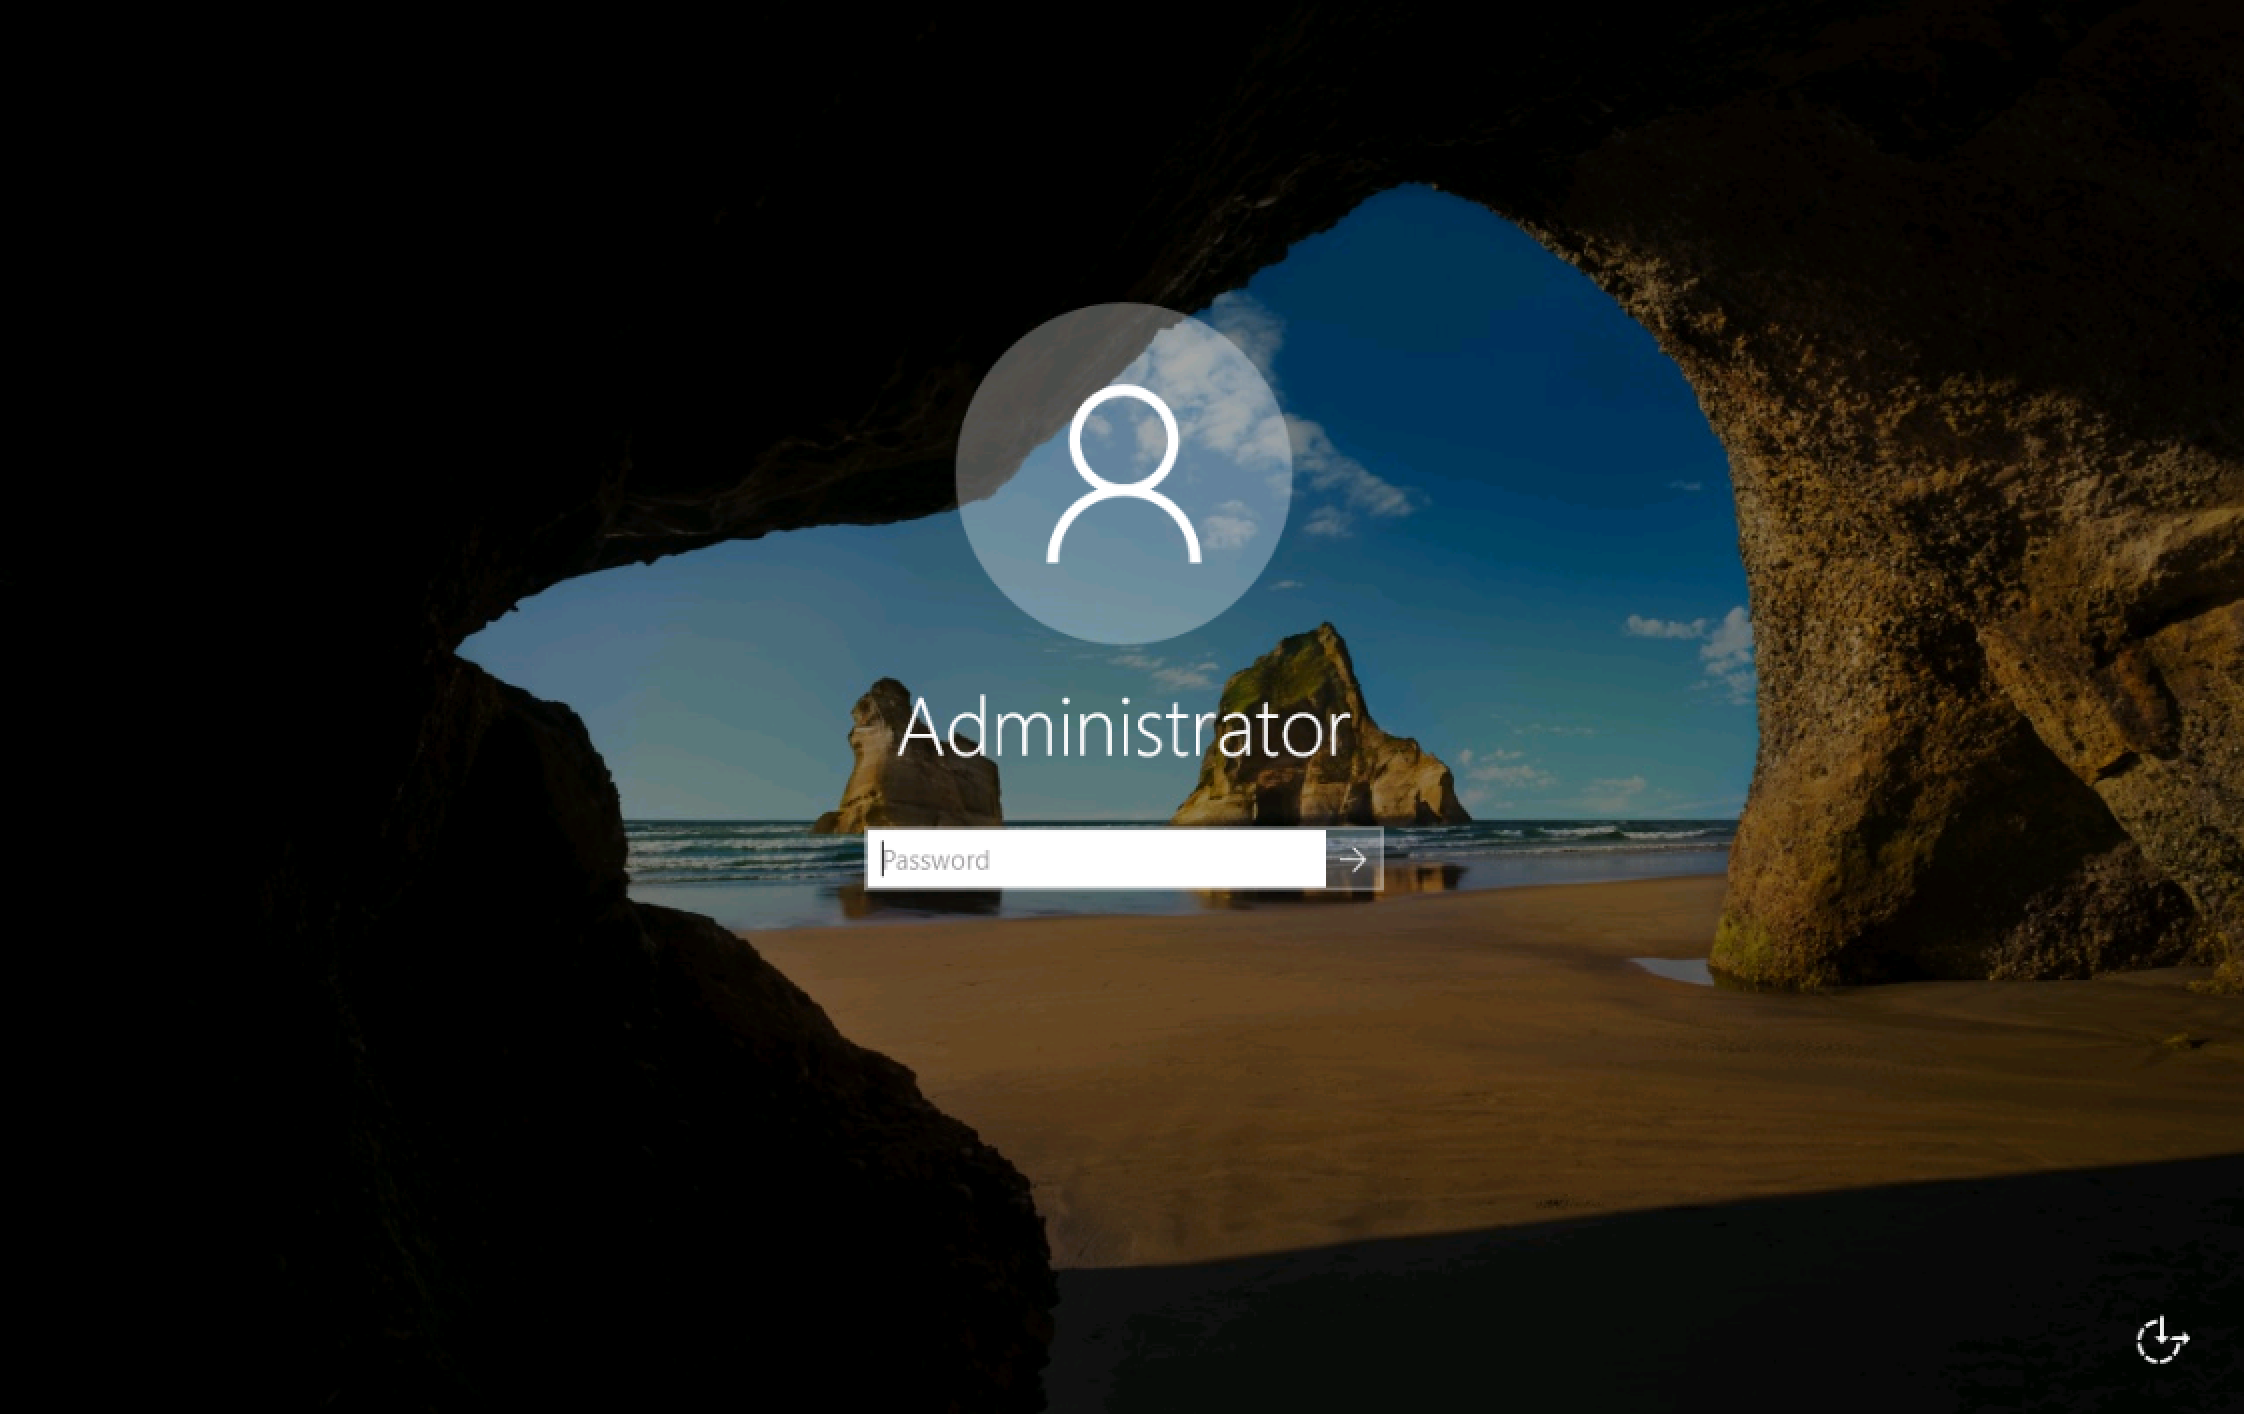
You will be prompted for the account username and password on the remote system.
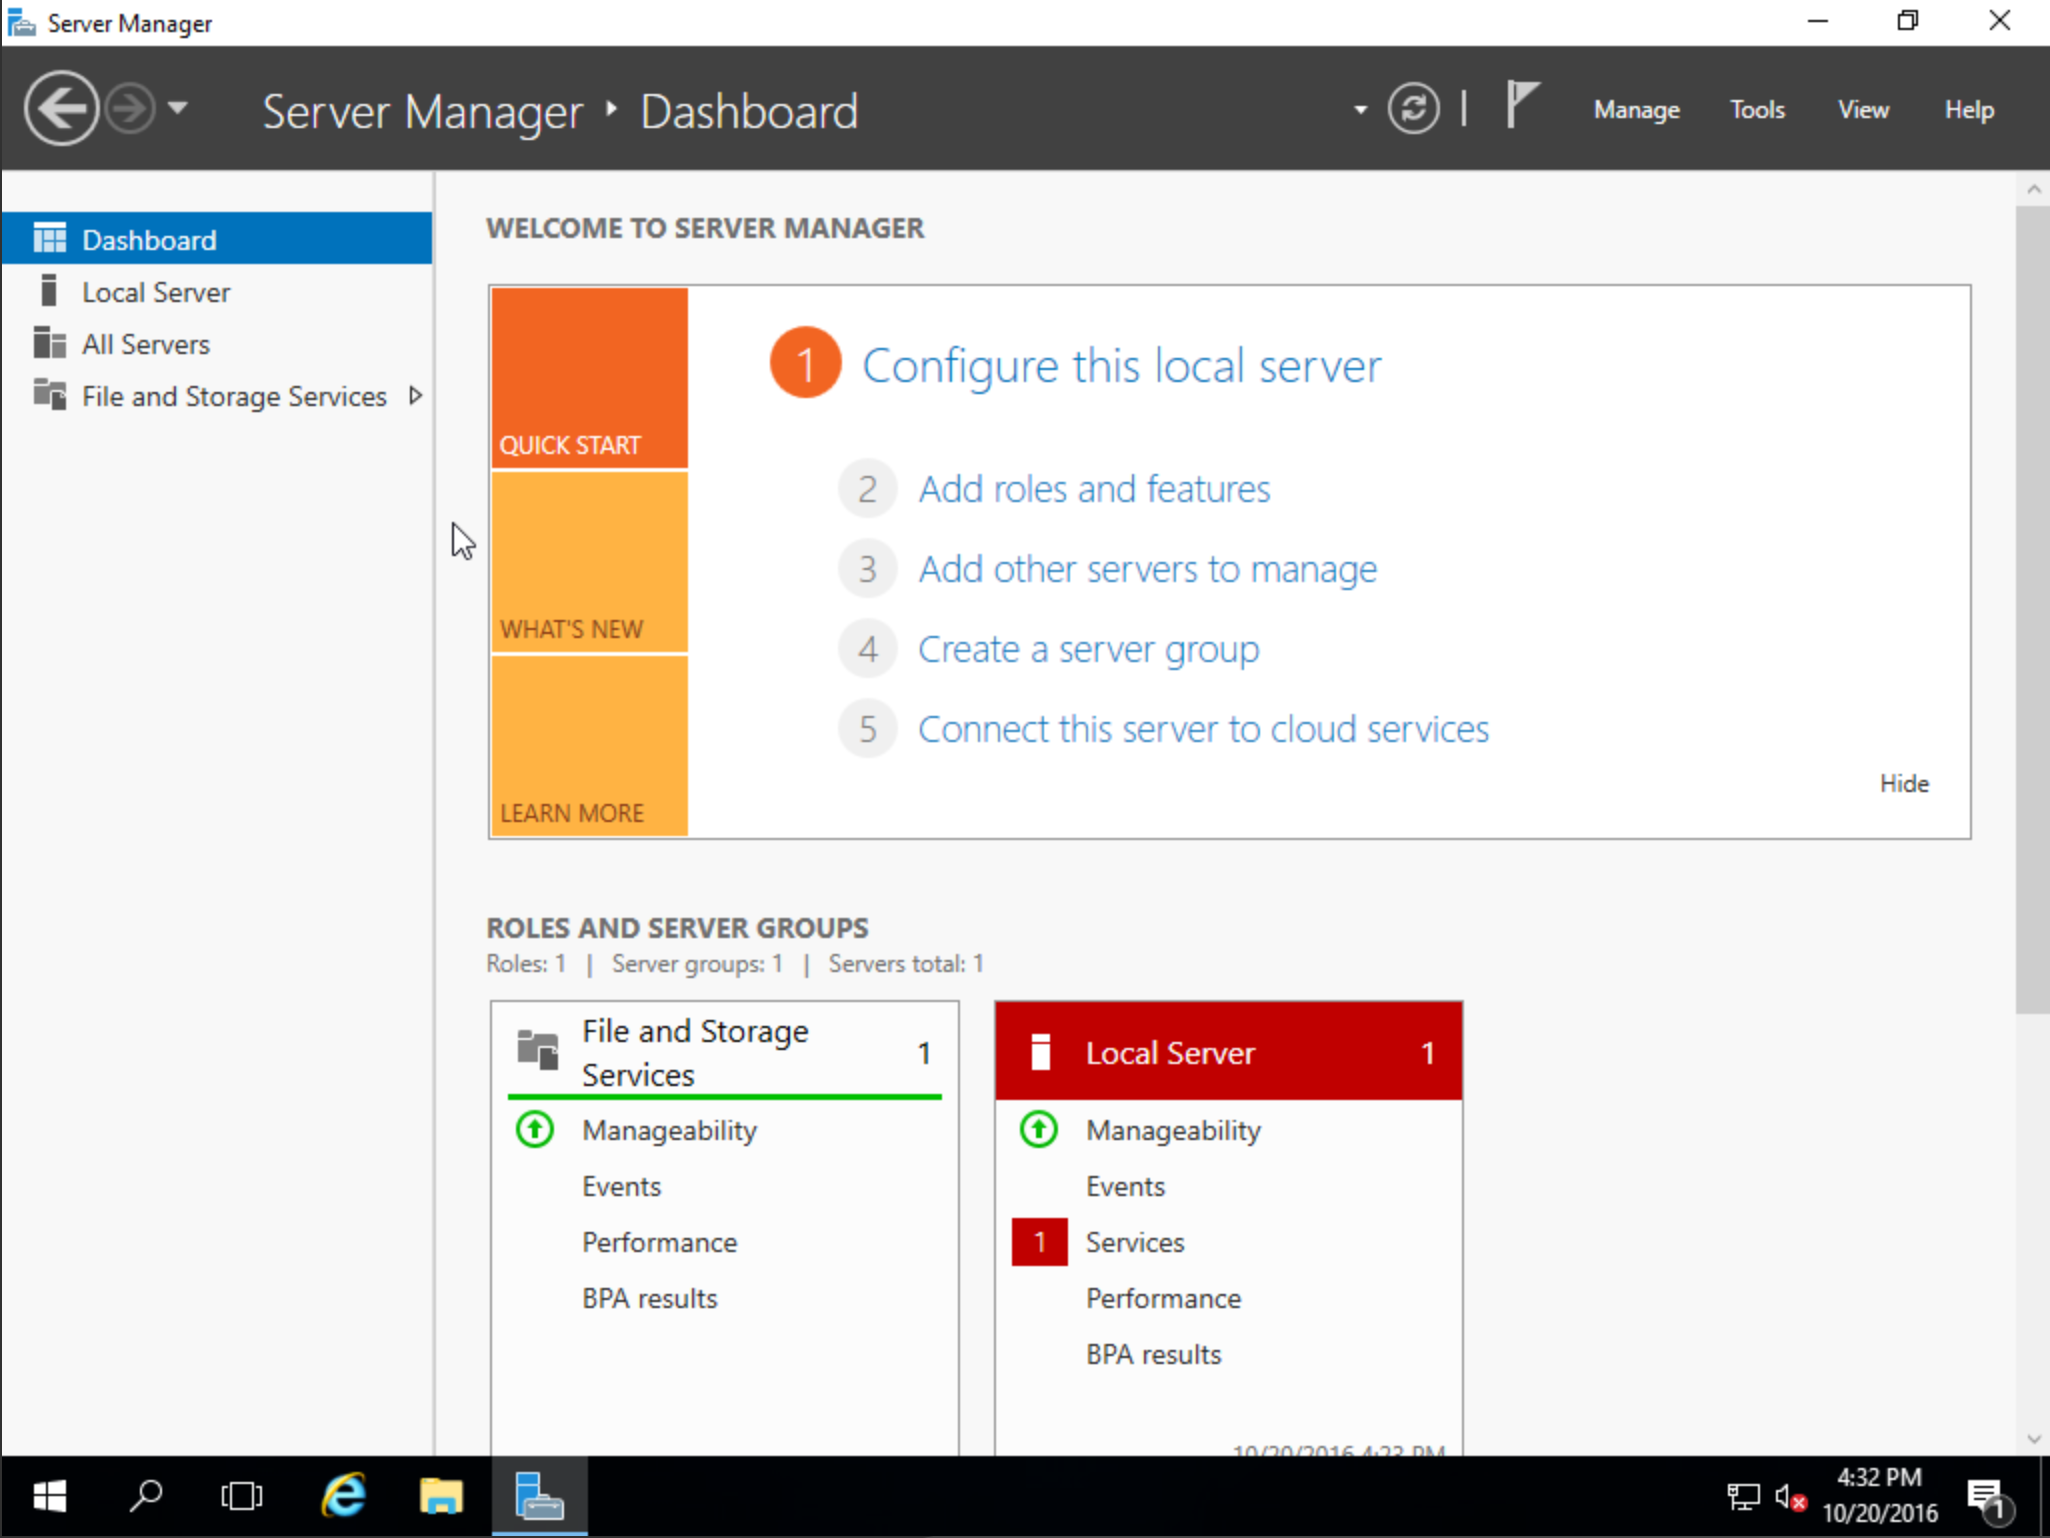
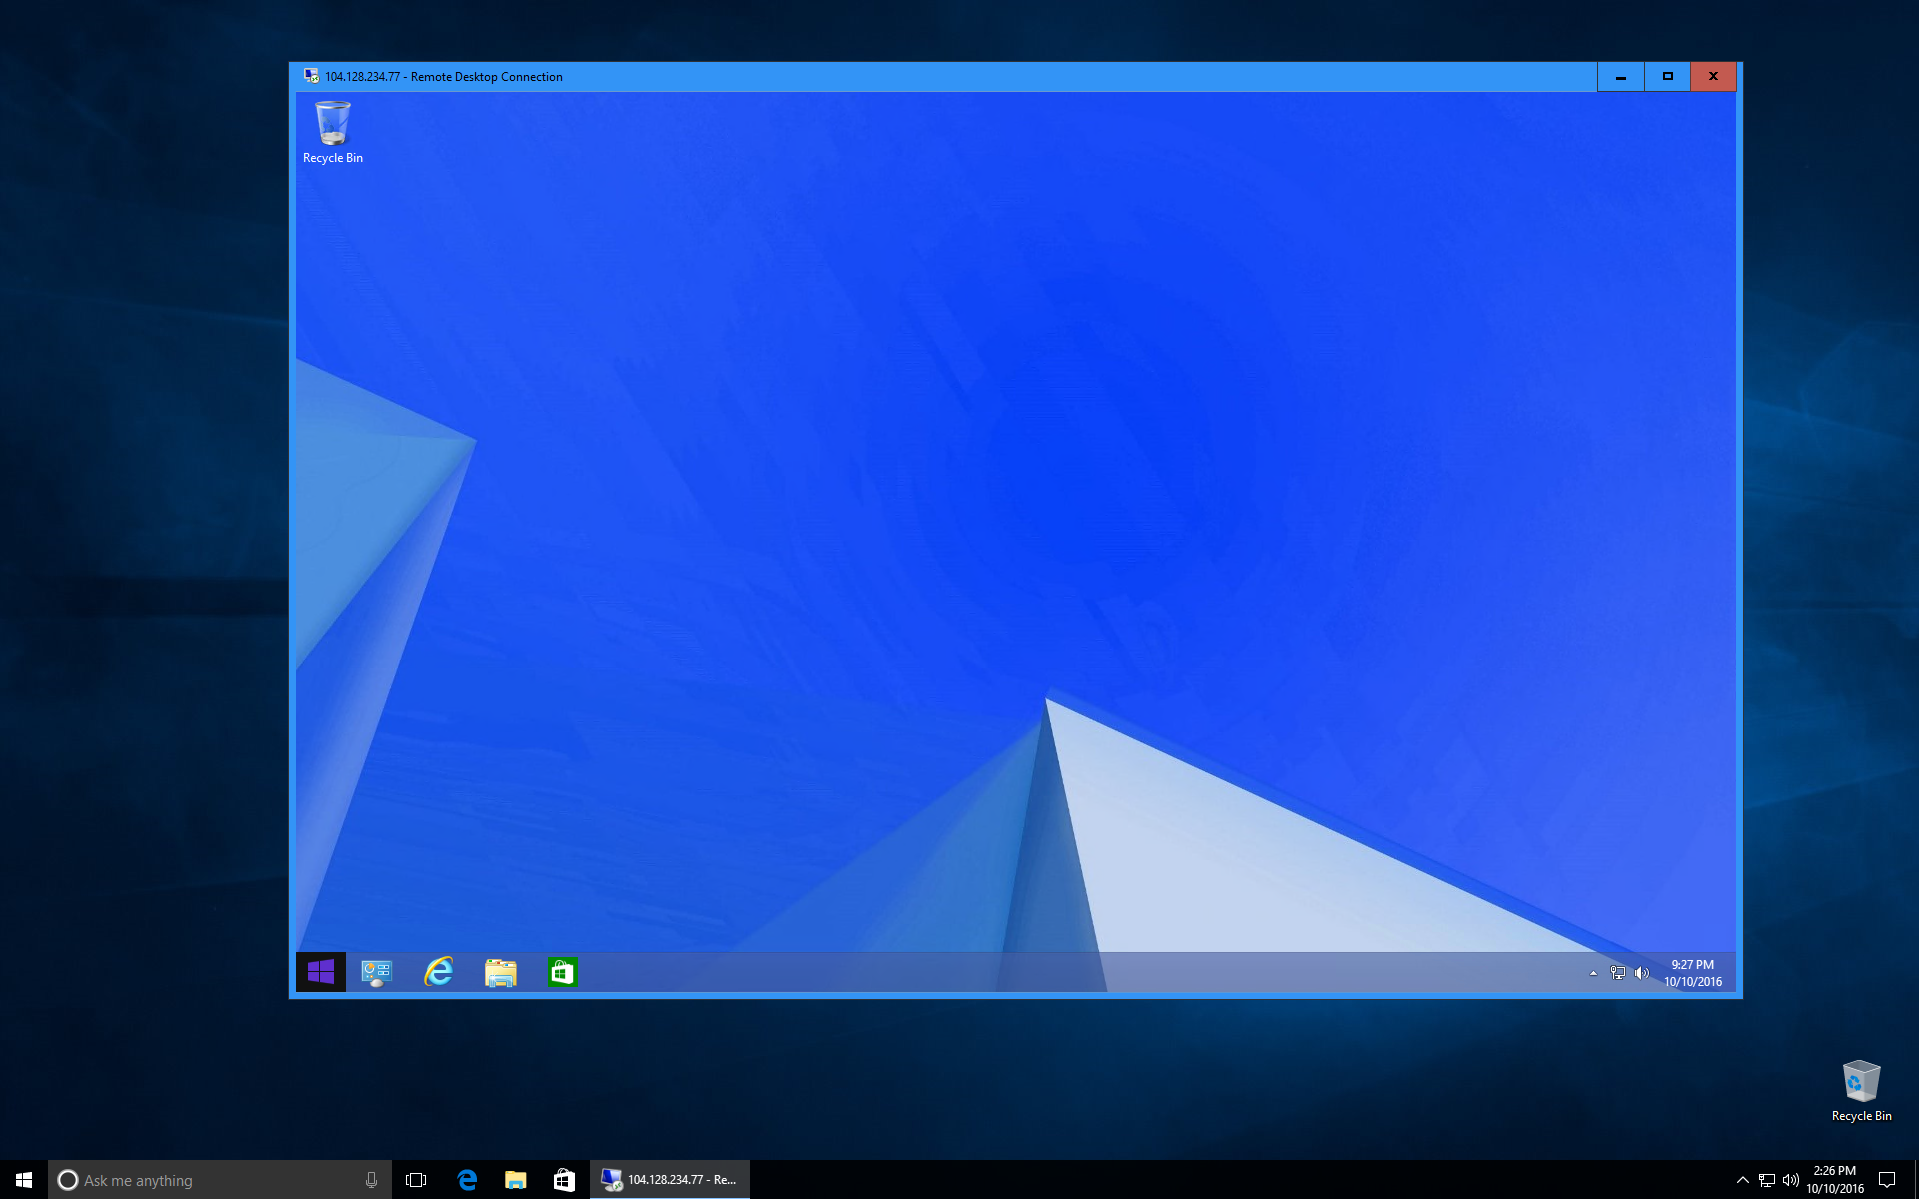
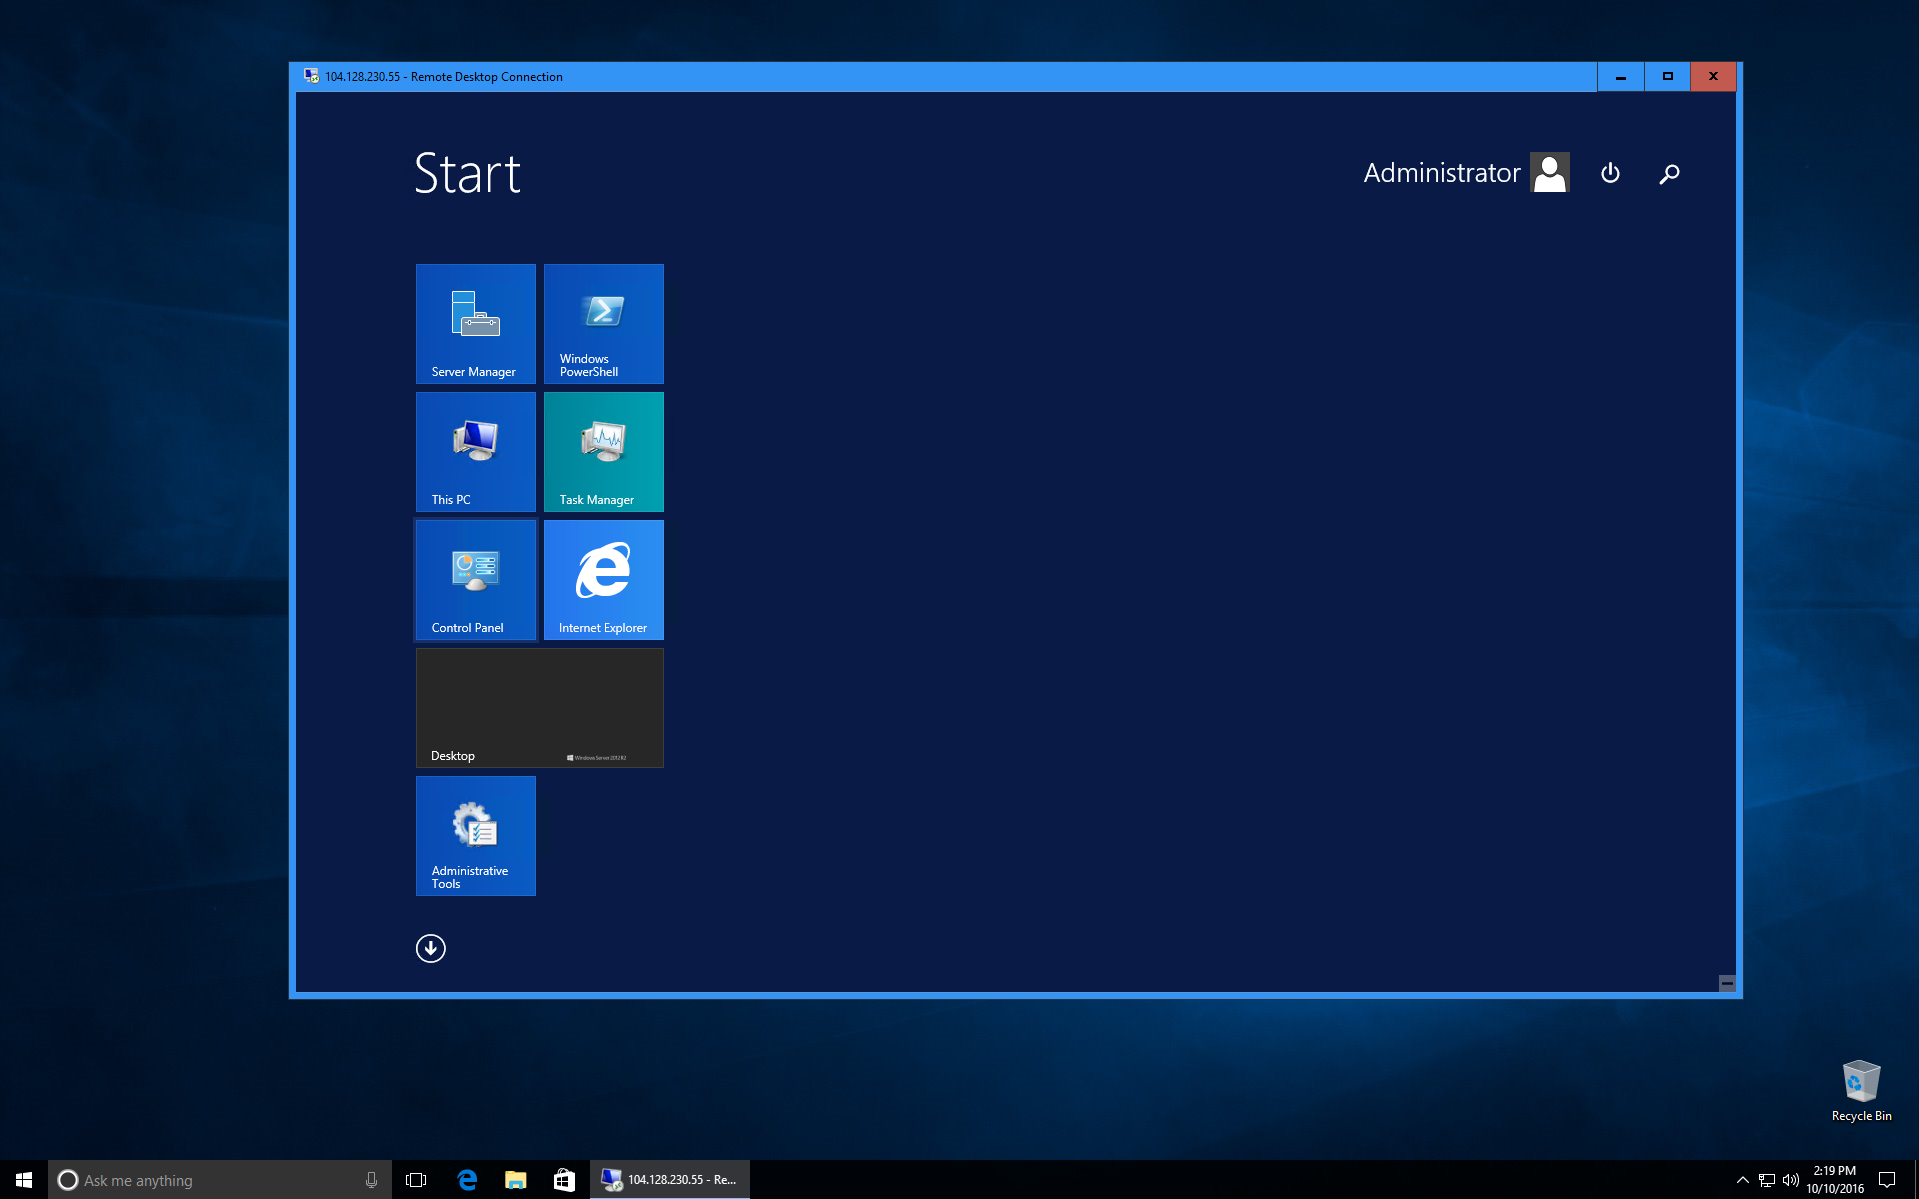
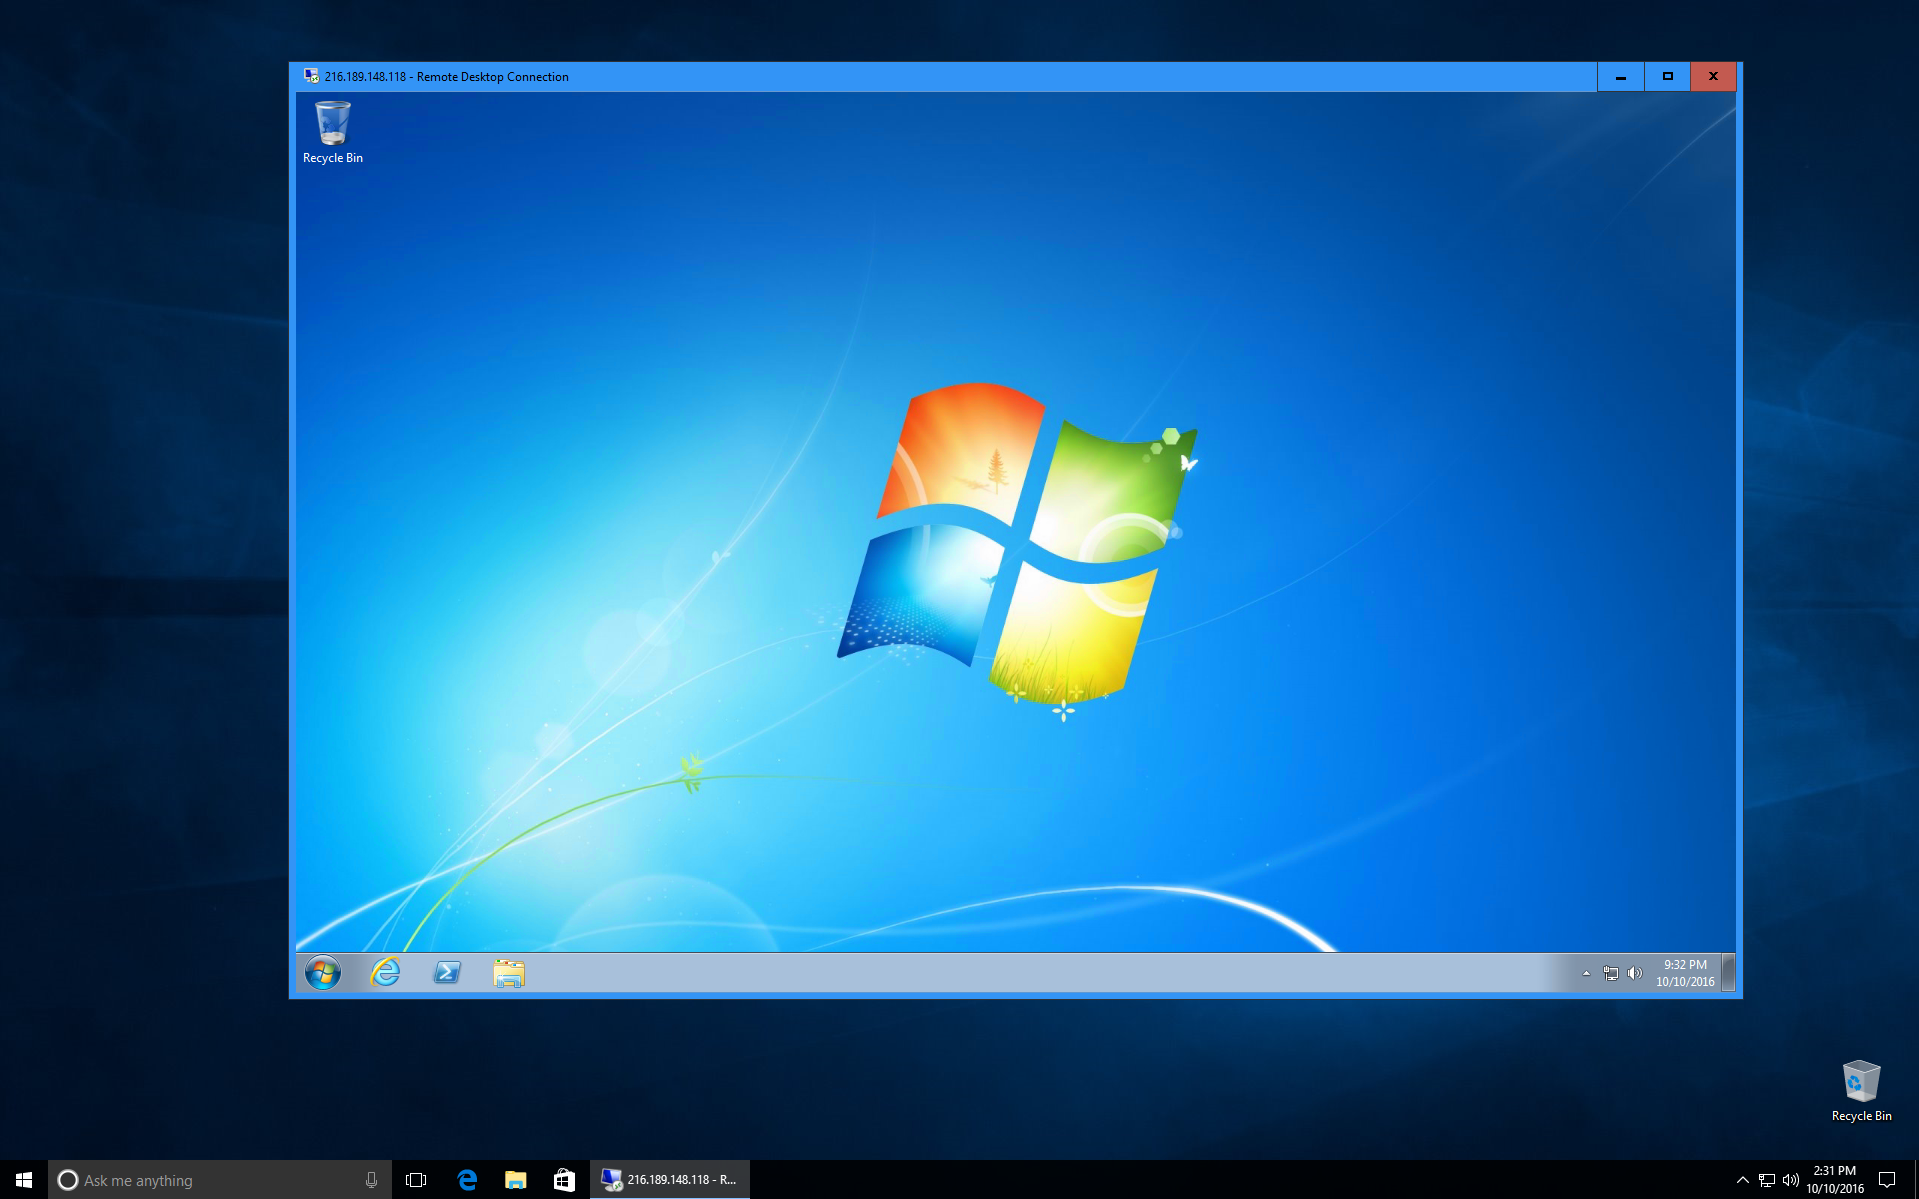
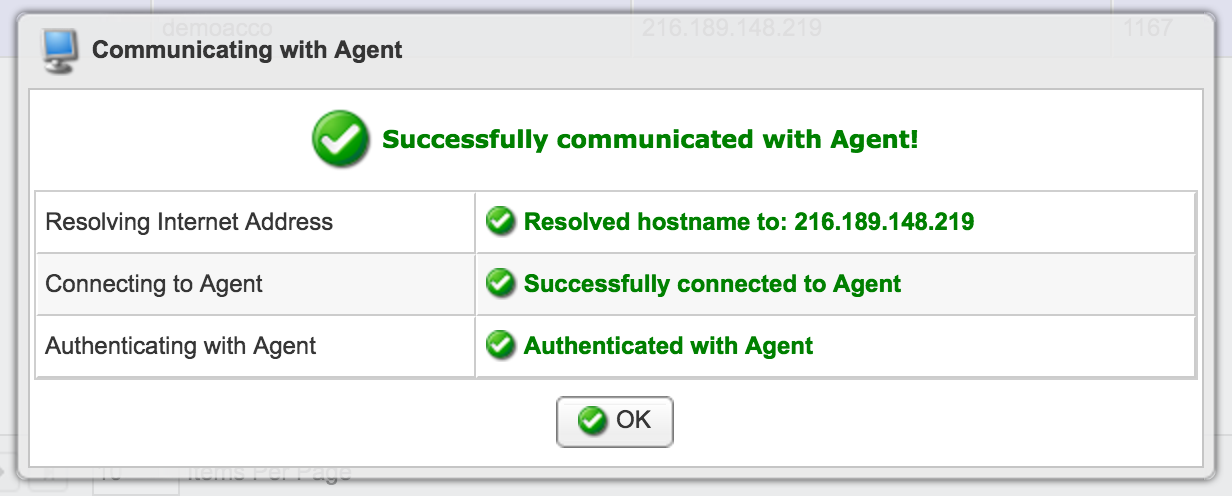
That’s it! If the login was successful, you will see the remote desktop opened in Remote Desktop Connection.
Other Windows RDP Clients
In addition to Microsoft RDC, any RDP client can connect to a Windows server or Windows VPS using the RDP protocol. All of them will follow approximately the same log in process. Though we recommend using Microsoft RDC on your device if possible, we also recommend:
How to Connect to a Linux VPS
Linux servers do not usually include a desktop interface, so it is not possible to log in by RDP or VNC with most servers. Instead, log in with a shell client that connects to the server with a remote command line interface, or a FTP client that displays the command line data as a file browser.
Secure Shell (SSH)
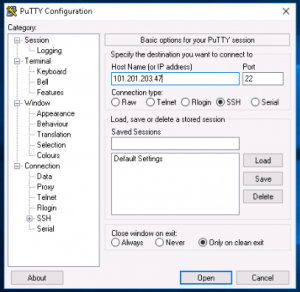
First, download Putty, a SSH client for Windows (Official Download Page).
Enter the IP address of your Linux VPS or dedicated server. The port should be 22 (default), and Connection Type: SSH.
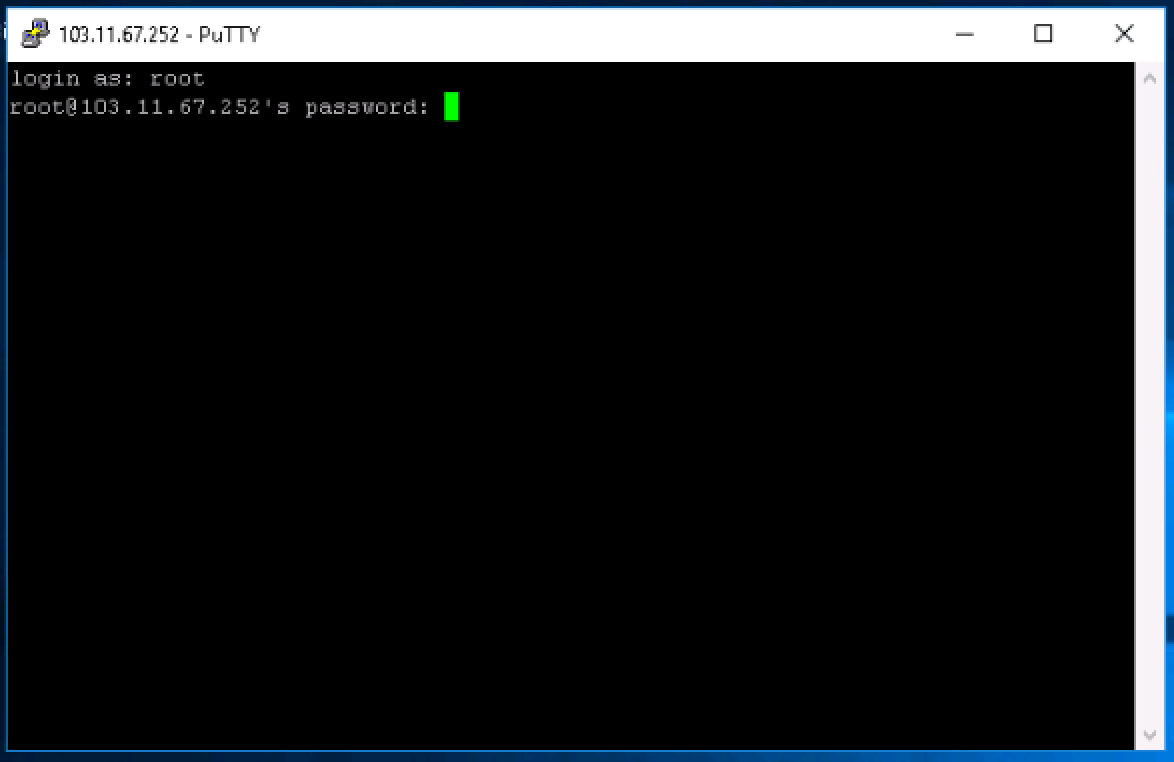
A terminal window will appear prompting for the login user. Type root or another user if you know the username. Enter the password by typing into the terminal. No characters will appear on the screen as you type – this is normal.

That’s it! You are now in the remote secure shell. Enter commands by typing into the terminal.
FTP over SSH (SFTP)
Using any FTP client, select the SFTP mode. Use the same root username, password, and port 22 as when connecting with SSH. We recommend:
Be sure to check out our Linux VPS hosting and dedicated servers.