How to Enable Autogrowth for a MSSQL Database
First, do a quick check to ensure your Windows Server or VPS has sufficient free disk space on C:\ or your SQL partition. It’s important that there is enough physical storage to fluidly grow the database on the server.
If the server has enough disk space, follow these steps to enable Auto-growth for the database.
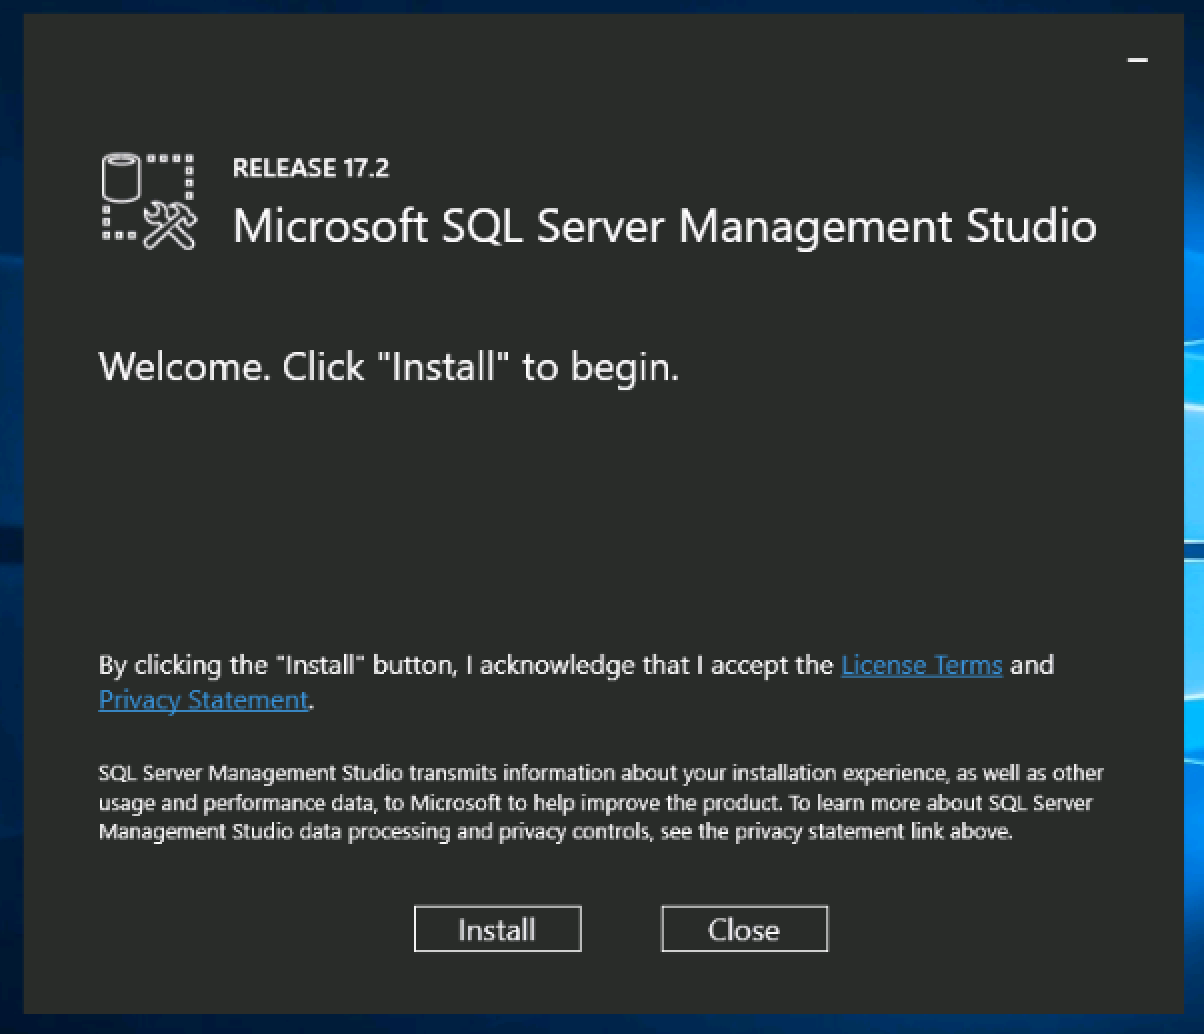
- Open SQL Server Management Studio and connect to your database instance
- Click the “View” tab
- Select “Object Explorer”
- Expand the “Databases” folder
- Right click the database your trying to bulk insert into
- Select “Properties”
- Click the “Files” list option from the “Select a page” area at the left of the properties window
- Look for the Auto-growth setting in the table, and set according to your preferences.
Cick OK.
What is Database Auto-Growth?
Auto-growth is a procedure due to which SQL Server engine expands its database size when all its space runs out. The amount due to which the size of database file grows is based on the settings, which is for the growth of file option for database. There are three different settings that can be utilized for identifying the way for growing the database file. It can grow via a specific size, current size percentage or not grow at all. Moreover, it can be set to unrestricted growth, which will keep on increasing, as more is required.
Why to Use Database Autogrowth In SQL Server?
When an event of auto-growth occurs, server requires in finding the additional disk storage for the database that can grow. Moreover, the disk space will not be physically next to the database, which is existing. It is stored somewhere else on the disk. It causes the database file to be physically fragmented on the disk. More the auto-growth events then, more will be physically fragment on the disk. The default settings of auto-growth settings for a database are rarely ideal settings for how the database will grow.
Process for creating Auto-growth Settings in New-Database
Users can set the setting of auto-growth by utilizing SQL Server Management Studio while creating the new database. Even these methods can be used in changing the settings of the existing databases.
While defining the new database, the initial settings for auto-growth are set to default values. These values are recognized by utilizing auto-growth settings on the database files model. The default values can be viewed on the screen of New Database as shown in the image below.

Now, by clicking on the ellipses button, user can define the auto-growth that makes sense for the database that I am creating. After clicking on the mentioned button, Windows dialog box will appear.
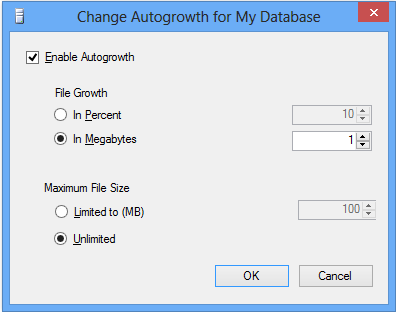
Now the user can change the auto-growth setting to any of the three possible mentioned values. The first option is the checkbox that enables the auto-growth. If this is unchecked then, there will not be an auto-grow in the newly created database.
Another option is to set File Growth that permits users to set how the data file will grow if it is run out of space. User can set the percentage or Megabytes accordingly for the growth of file. If the large database was based on the percentage then, it will take more space that is required to handle the growth. This causes these large database files to be over allocated from the disk space.
The last option is to maximum file size option. This permits users to set the maximum size, which is will allow server to grow the file. Most of the users normally utilize the unrestricted option of growth due to which most of their applications are well-behaved and are unlikely to grow irrepressibly. In addition, using the options of unrestricted reduces application failures due to auto-growth restrictions. If it is important to make sure, no other database utilizes up all the disk space then, setting a maximum file size will avoid this.
This article applies to:
- Windows Server 2016 VPS
- Windows Server 2012 VPS