Visual Studio is a free, fully featured, and extensible solution for individual developers to create applications for Android, iOS, Windows, and the web. Installing Visual Studio on a server or VPS has many advantages, like keeping your work separated and available 24/7, as well as the performance advantages that come along with cloud hosting: ultra-fast download/upload, local storage, and system I/O.
A Windows VPS or remote desktop makes an ideal development environment. Learn more about our Windows VPS hosting here.
Install Visual Studio 2017 on a Windows Server or VPS
First, log in to your Windows Server or Windows VPS. Open a web browser and go to the Microsoft download page for Visual Studio: https://www.visualstudio.com/downloads/
Download the installer to the server or VPS. Open the installer, and you should see the Visual Studio start screen:
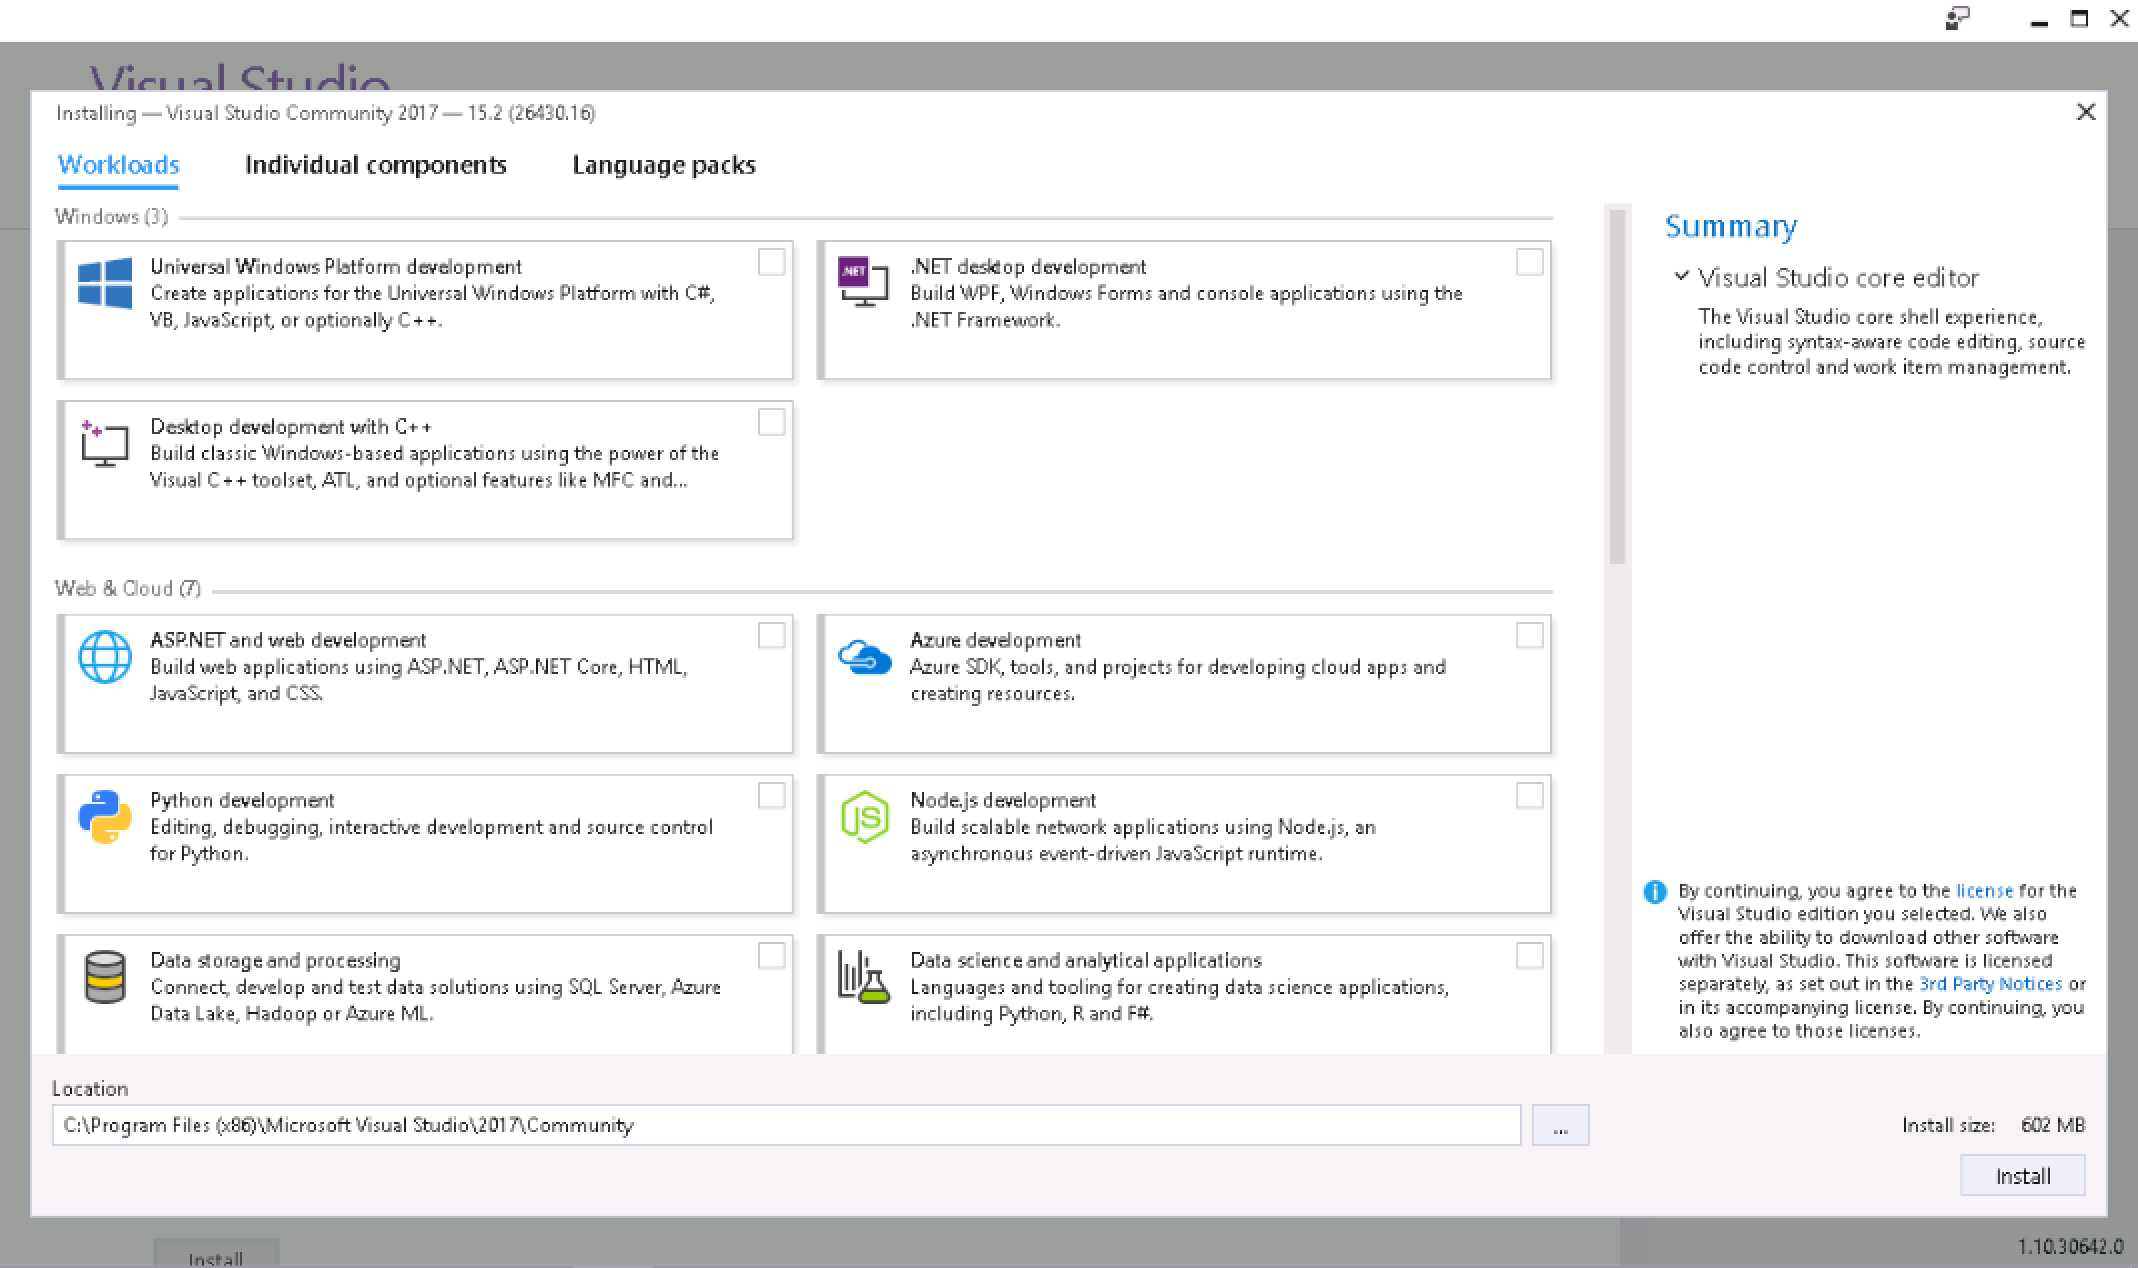
Select the development packages that you want to install, as required by your project.
The selected packages will download and install automatically. Once completed, you can launch Visual Studio.

Install Tools for Visual Studio 2017
You can also find free downloads of available tools for Visual Studio, including:
- Agents for Visual Studio 2017
- Feedback Client for Visual Studio 2017
- IntelliTrace Standalone Collector for Visual Studio 2017
- Performance Tools for Visual Studio 2017
- Remote Tools for Visual Studio 2017
Visit the download page: https://www.visualstudio.com/downloads/
This article applies to:
- Windows Server 2016 VPS
- Windows 10 VPS
- Windows Server 2012 VPS