There are two methods for adding additional IP addresses to Windows Server 2012, using the GUI and command prompt. The same methods work to add IP addresses to Windows Server 2008 and 2003. We will walk through both methods below.
Method 1: Use netsh command (cmd)
The command prompt method is fastest and we suggest it first. To add IP addresses to a Windows VPS or Windows Server, first open Command Prompt at Start > Run > cmd.
Enter the command for each new IP address to add to the system:
netsh interface ipv4 add address “Local Area Connection” 192.168.1.2 255.255.255.0
Edit the IP address (italic) with your additional IP. The subnet mask is usually 255.255.255.0.
Method 2: Add IP Addresses to Windows in Network Adapter Settings (GUI)
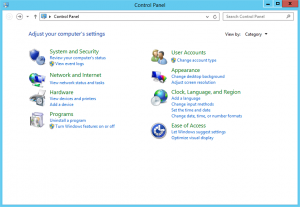
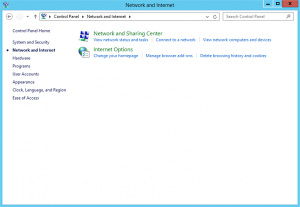
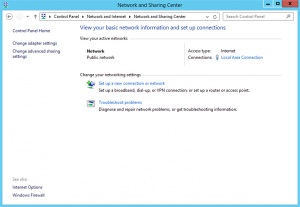
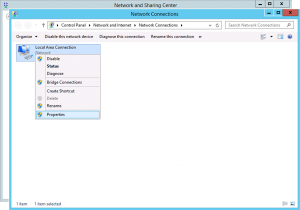
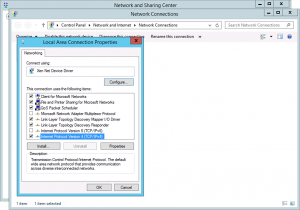
Navigate to Control Panel > Network & Internet > Network Connections and Change Adapter Settings. Right click “Local Area Connection” and choose Properties.
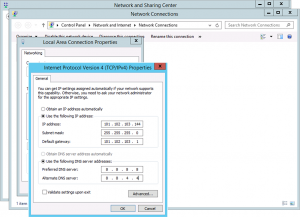
Select TCP/IPv4 and click Properties.
Check that your server is configured to use a specific IP address, netmask, and gateway. (This is the public IP address of your Windows VPS or server. If you don’t know what to enter, please contact us.)
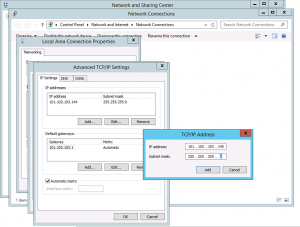
Click Advanced… and Add to enter your additional IP addresses on the next pane. In most cases they will use the same Subnet mask as the primary IP.
Once all the IP addresses are configured, click OK through all of the settings windows. The IP addresses are now connected to the system.
This article applies to…
- Windows Server 2003 R2
- Windows Server 2008 R2
- Windows Server 2012 R2


